Looking for a way to showcase your work? Want to avoid hosting costs?
Ya, me too.
There are a thousand ways to build a website from Squarespace to Wix to WordPress each with it’s pros and cons but one thing they all have in common is a monthly services fee. Some hosts are pretty cheap at only a few dollars a month but those same hosts usually require multi year plans and those rates go up over time.
So what do we do, give in and pay to host our websites? No! there is a better way.
We will need a few things to get our site build and online:
- A free Cloudflare account
- A domain (I suggest using Cloudflare or Google Domains)
- A free application localWP
- A free WordPress plugin Simple Static
- About an hour
*As with anything there is a catch, this is for static content so no forums, no comments, etc.
What were about to do is use localWP to create a WordPress website on our computer. We will then install the Simple Static plugin and export our site. Finally we will upload our site to Cloudflare’s Pages application and host our site for free.
Installing WordPress using localWP
localWP is a local WordPress development tool that will get us a site in a few simple clicks. Lets start by downloading and installing localWP.
Select your platform.
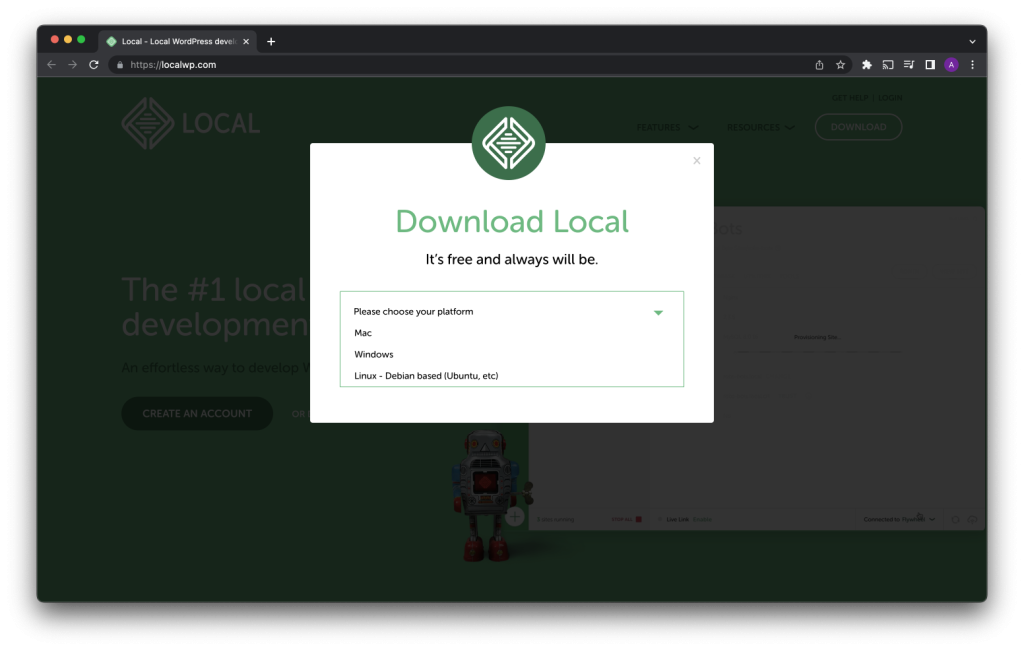
Follow the steps to install the application on your device.
Launch the localWP application.
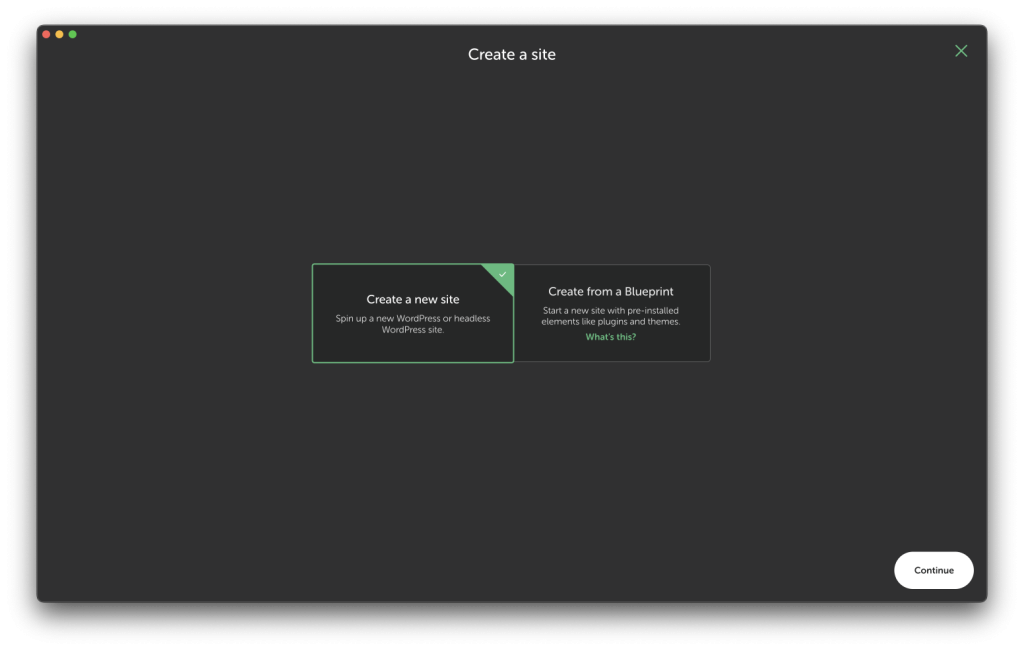
Create a new site in localWP.
Choose “Create a new site” and click Continue.
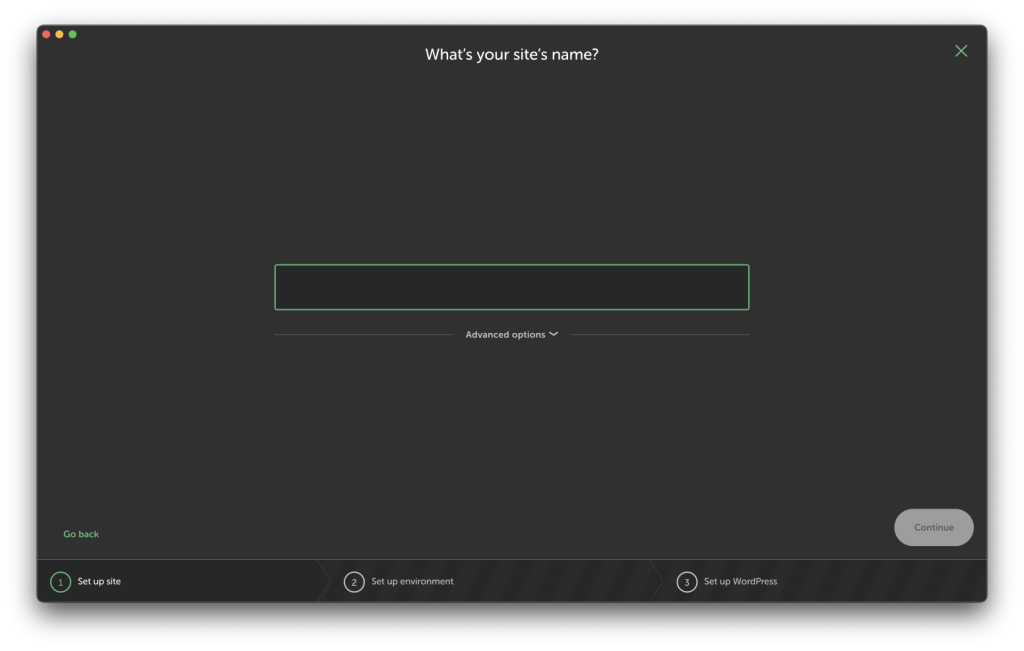
Give your site a name and click Continue.
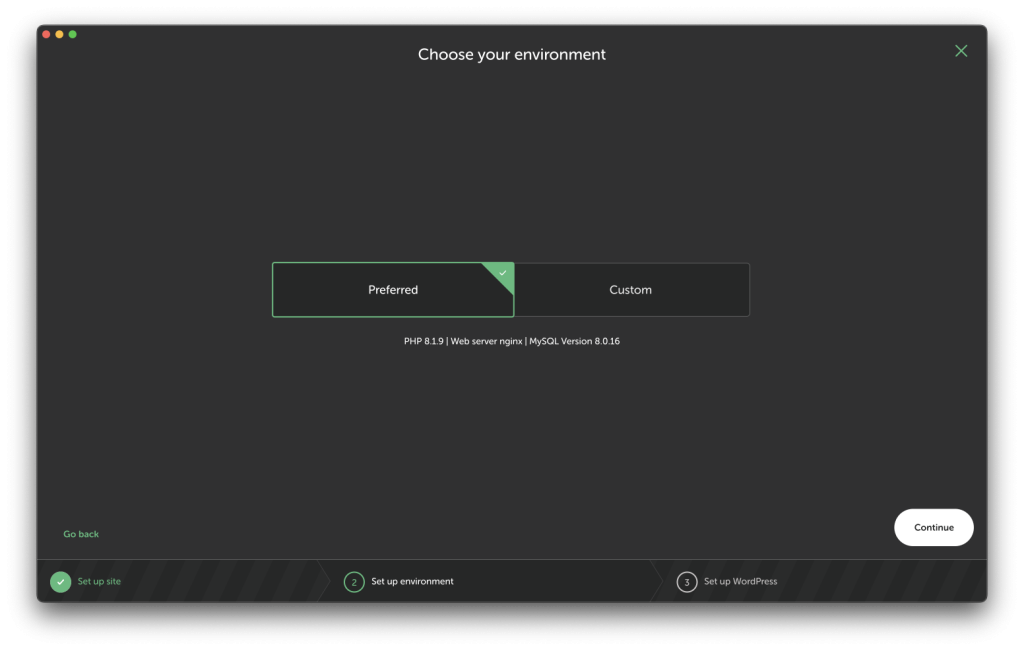
Choose your environment (Preferred is fine) and click Continue.
Enter a username and password then click Add Site.
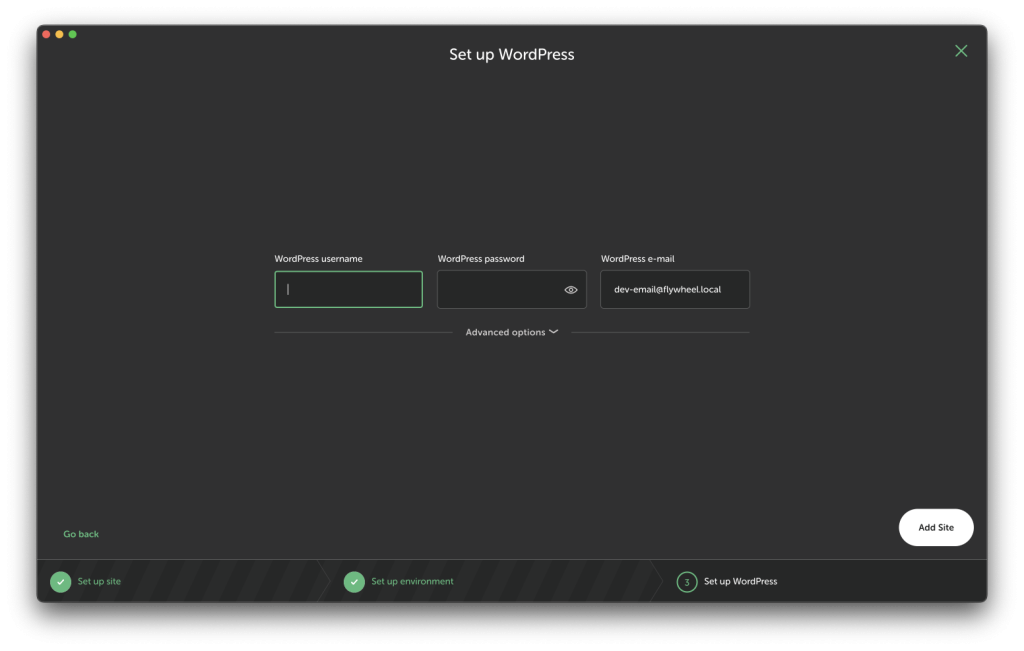
Wait a few seconds and localWP will setup your WordPress site.
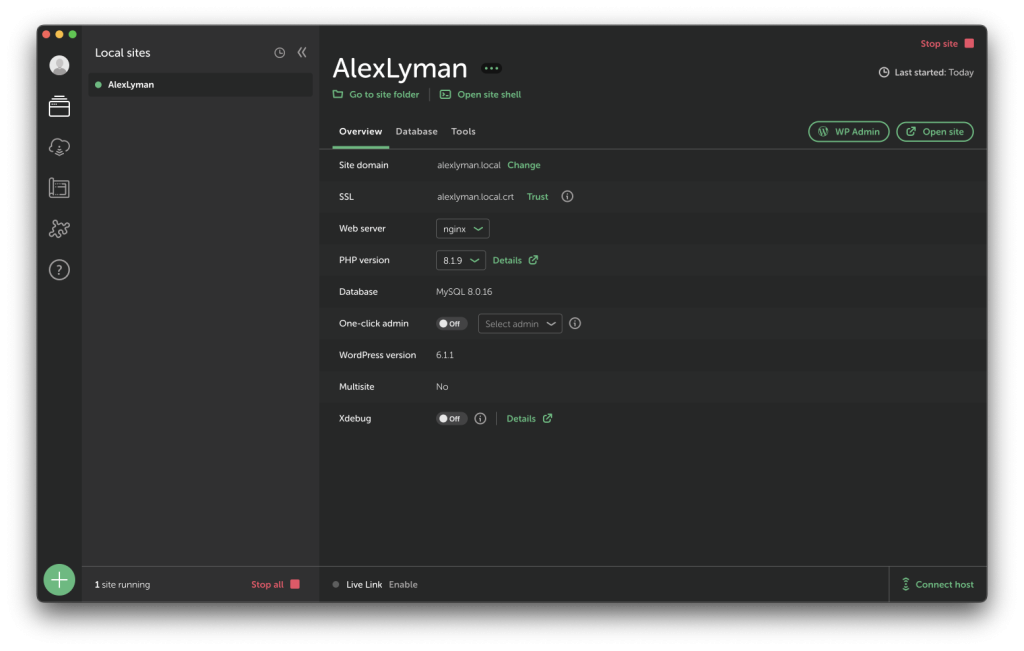
To make our lives a little bit easier turn on the “One-click admin” option.
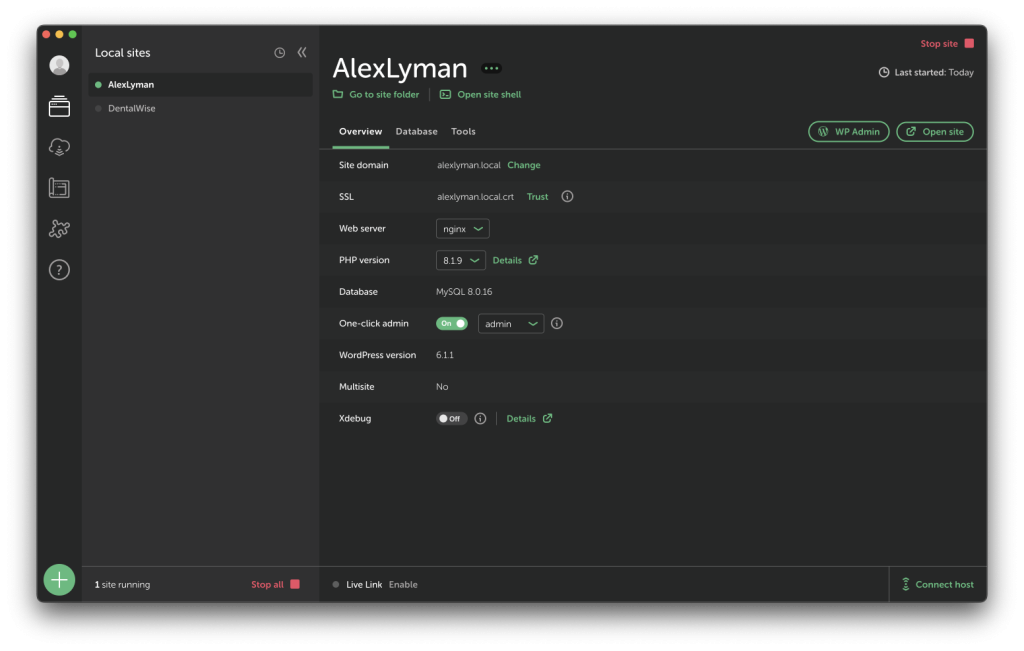
You now have a WordPress site running on your local computer!
To access your site click on the “Open site” button in the top right corner.
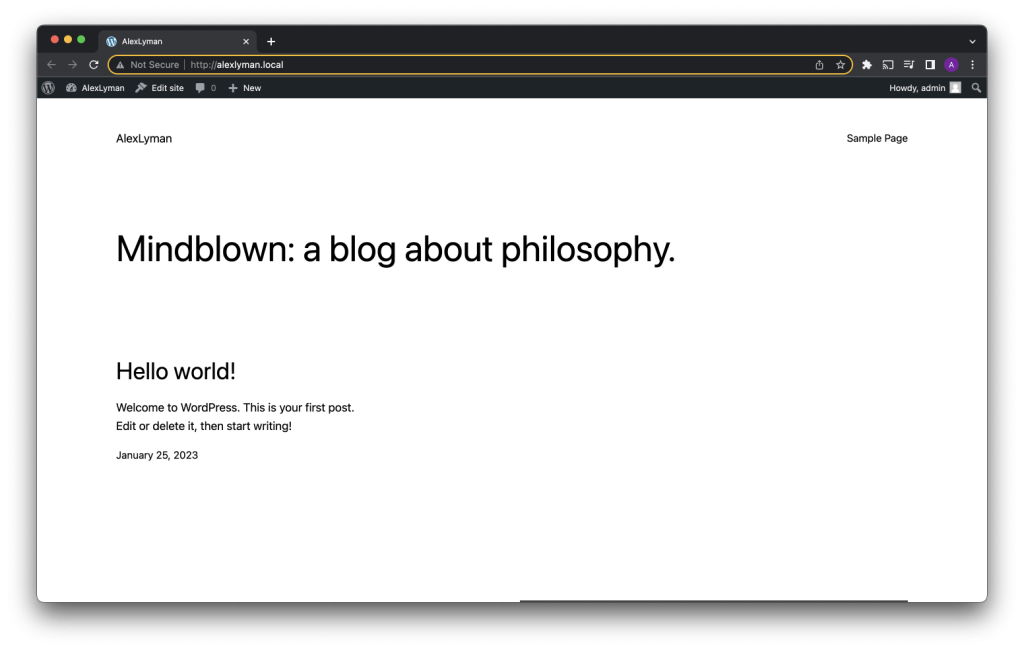
To access your site settings click on the “WP Admin” button also in the top right corner.
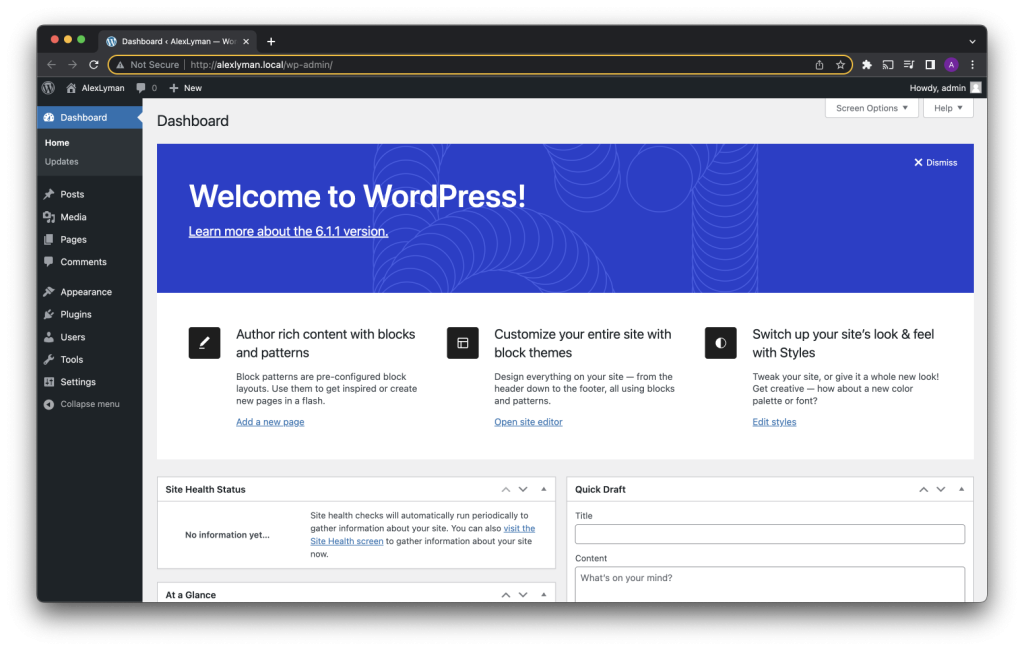
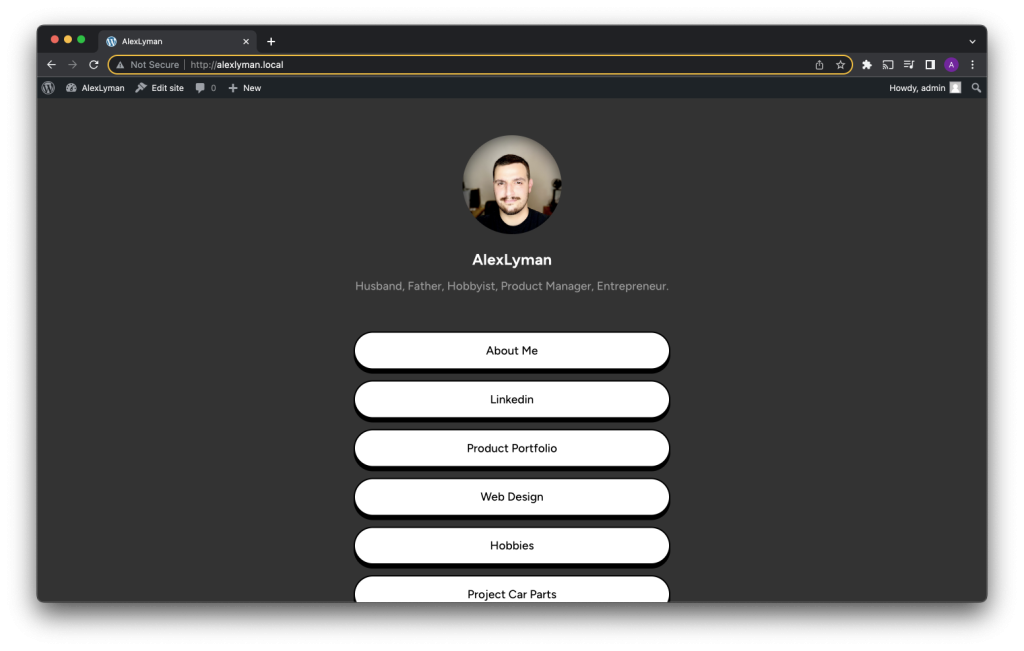
Now is a good time to pick a theme and setup your site.
Create new pages, posts, or add media.
Really go to town and create something compelling.
Ahh that’s more like it, looking good.
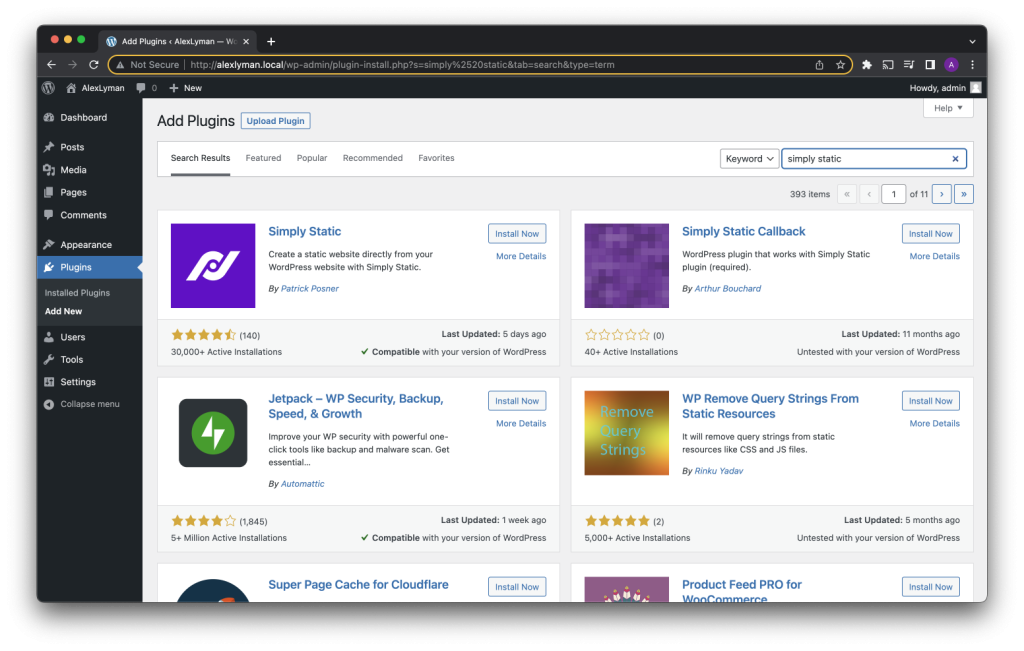
Installing The Simply Static Plugin
Now we need to install and activate the Simply Static plugin.
Now lets click on the Simply Static menu item.
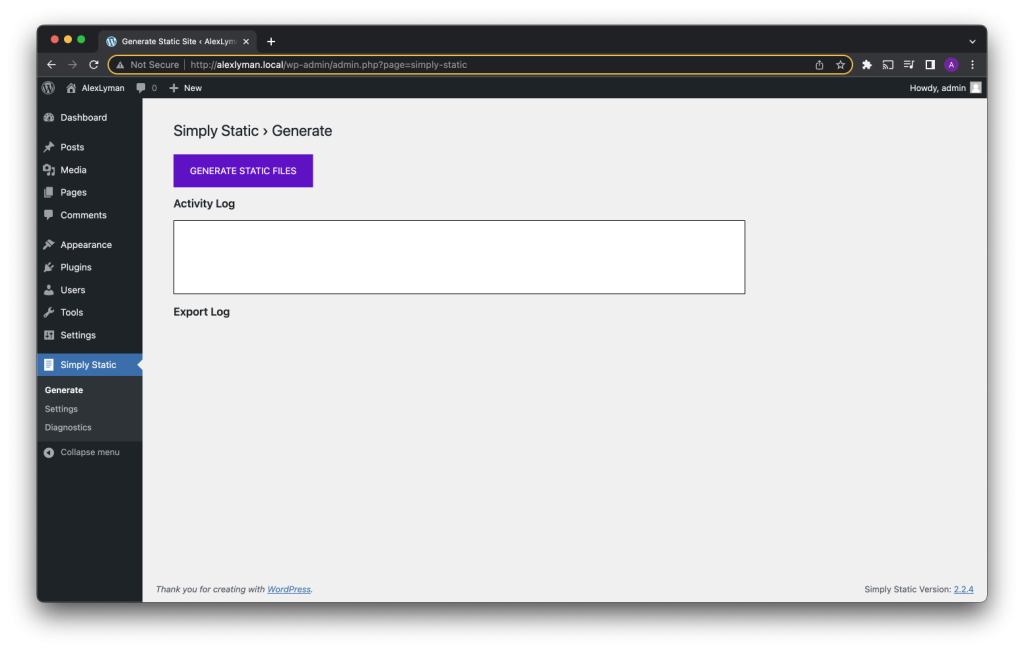
Now click “GENERATE STATIC FILES”.
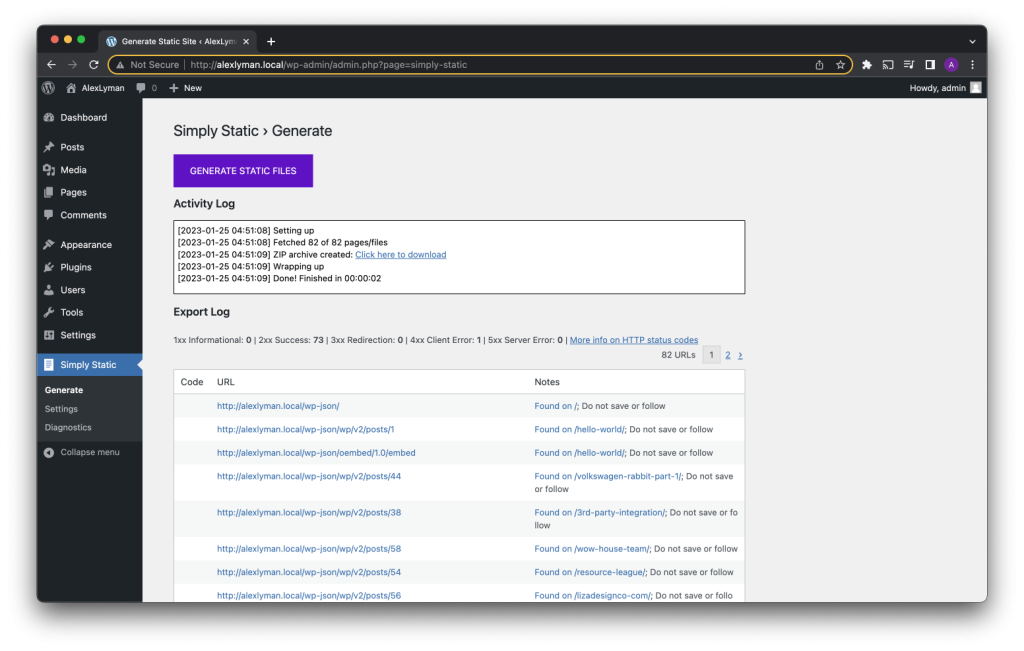
Finally click “Click here to download” to get our static site files.
Cloudflare Pages
Now we need to mosey on over to Cloudflare.
If you haven’t already create a free site (they still want your credit card info though).
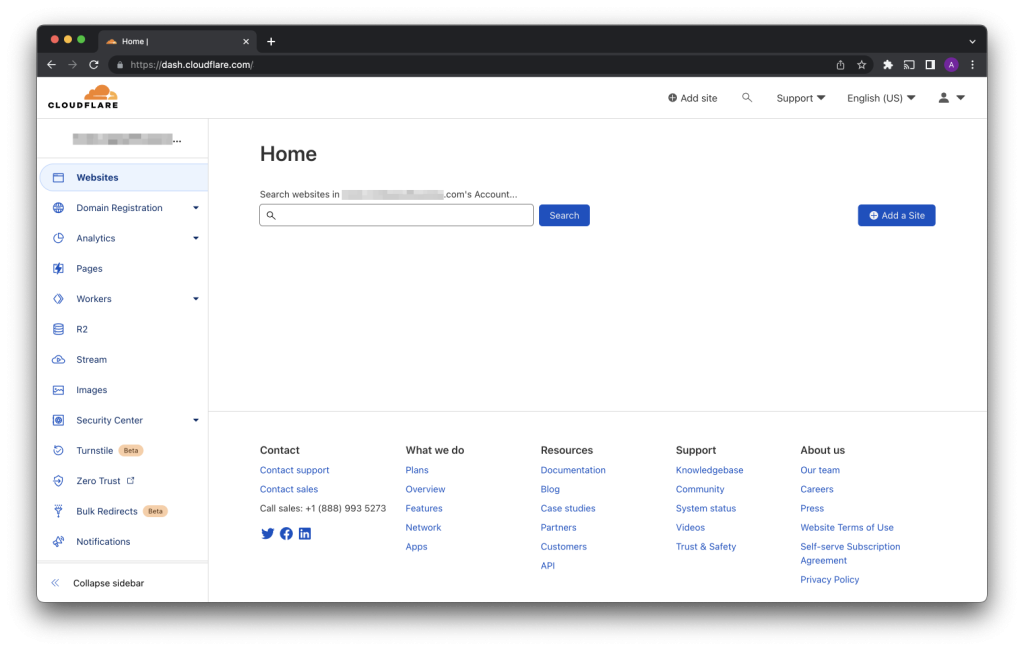
Now depending on where you purchased your domain the next steps will vary.
Either buy a domain from Cloudflare or “add a site” if you have a domain else where (this has a few steps including changing name servers but nothing too difficult and most of it’s well documented).
Click “Add a Site”.
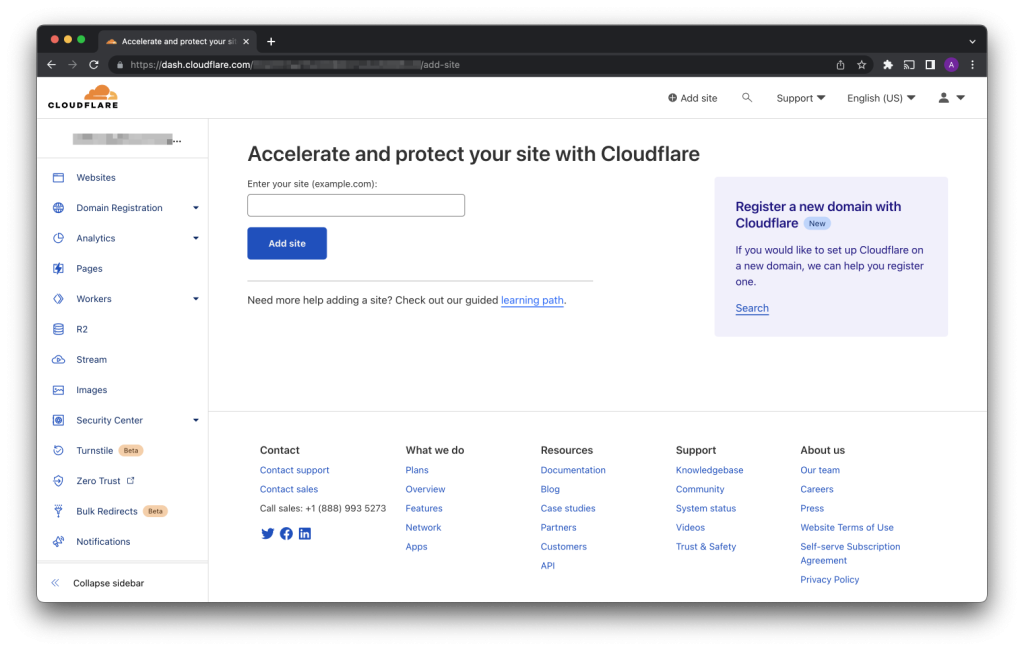
Type in your domain (mine is alexlyman.me) and click “Add site”.
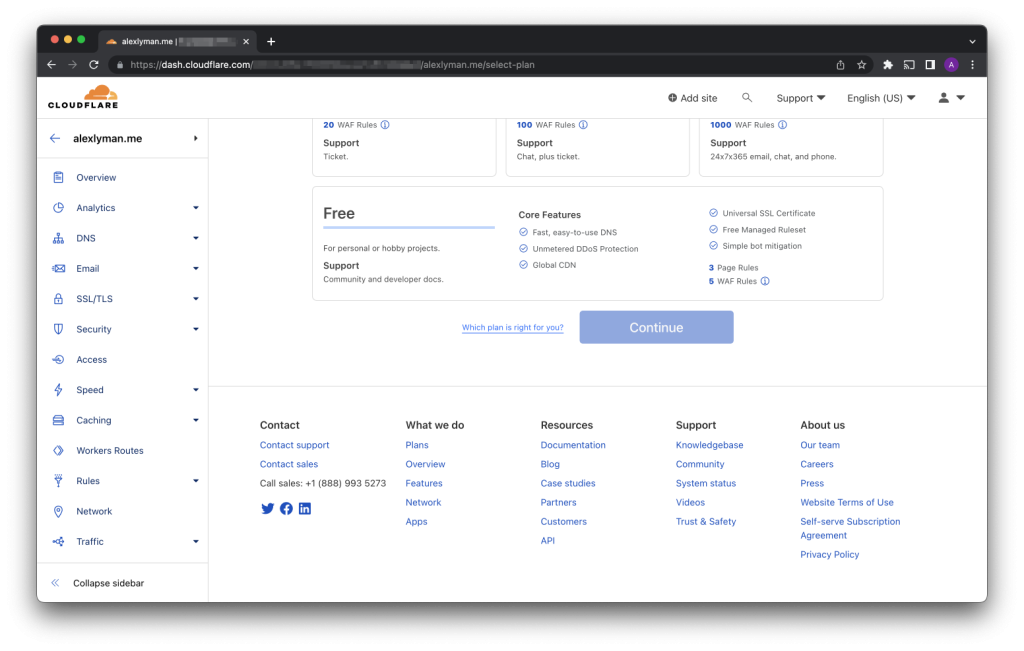
Then scroll all the way to the bottom of the page to find and select the Free plan, then click “Continue”.
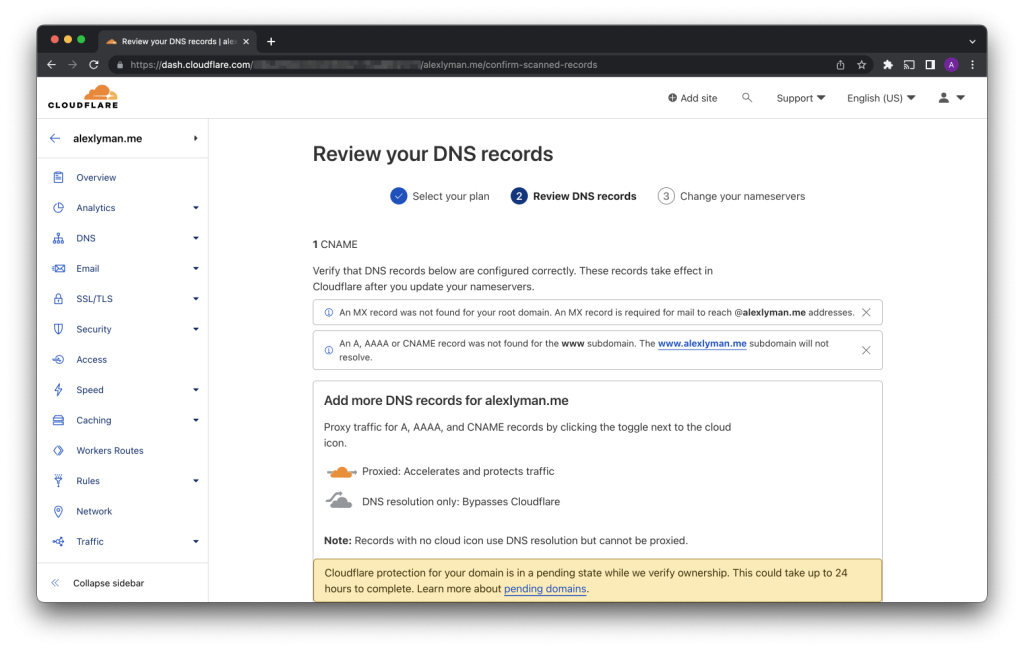
On the next screen you can just scroll past all of this and click “Continue”.
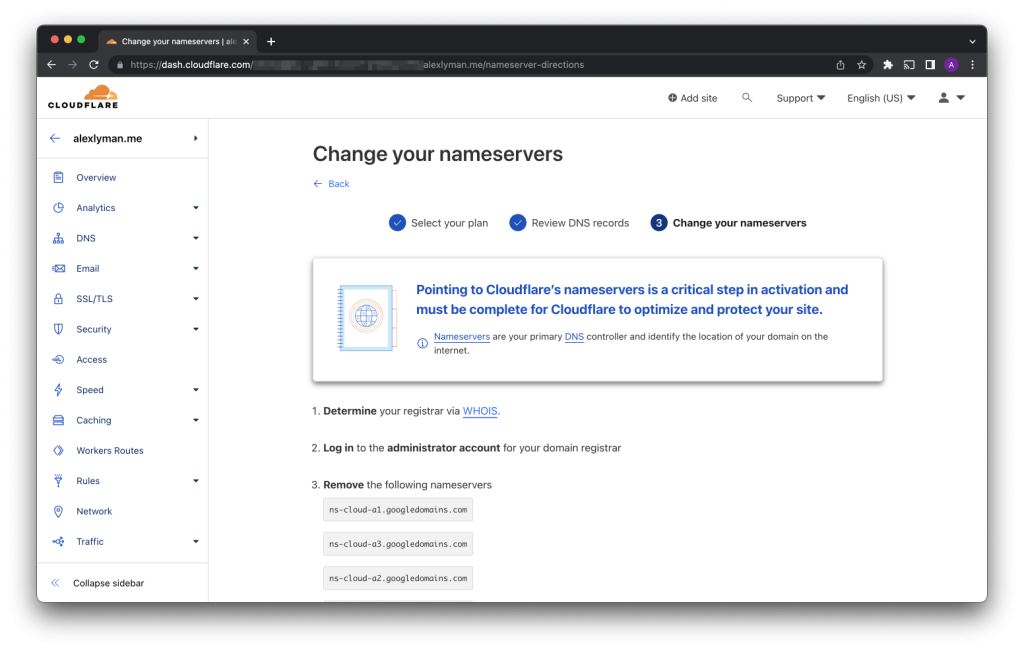
This screen gives us what we need, new name servers to add to our domain.
Do that (I had to on google domains) and then click “Continue”.
Now we have to wait a little bit for the name servers to update, so grab some snacks, watch a YouTube video and come back and refresh the page.
You should see something like this.
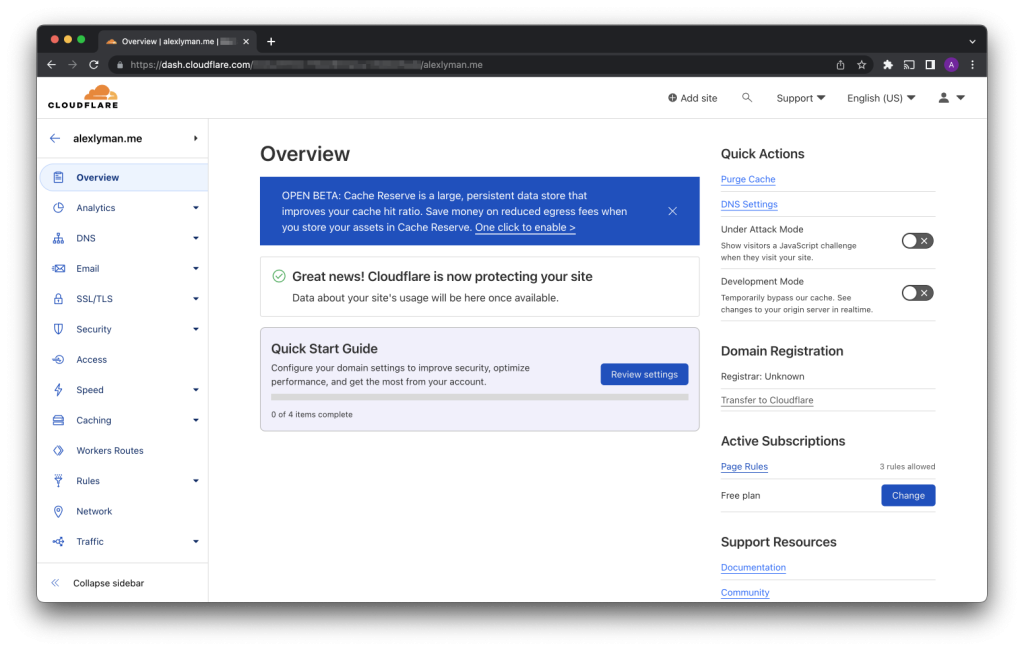
Now we need to click on the back arrow by our domain name in the top left.
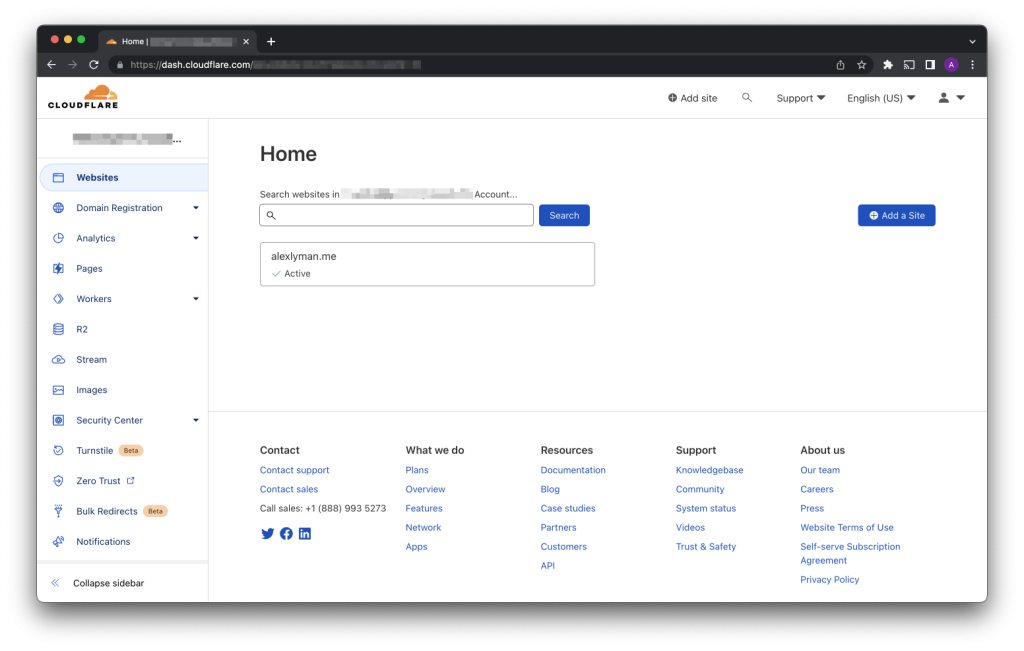
You should now see your domain listed as Active.
Now click on the “Pages” item on the left had menu.
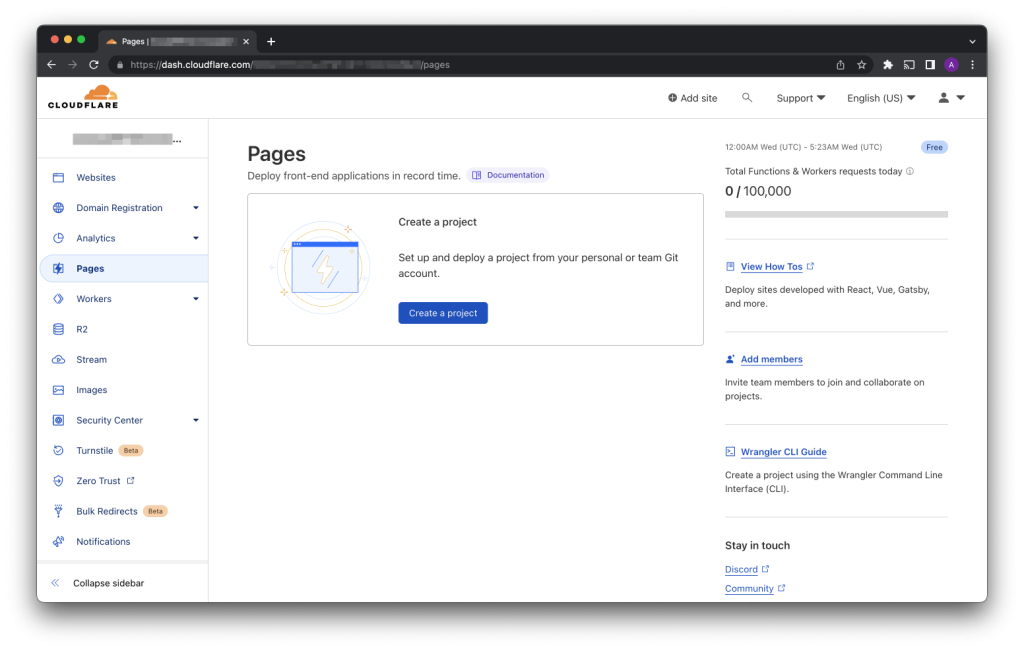
Then click on “Create a project”.
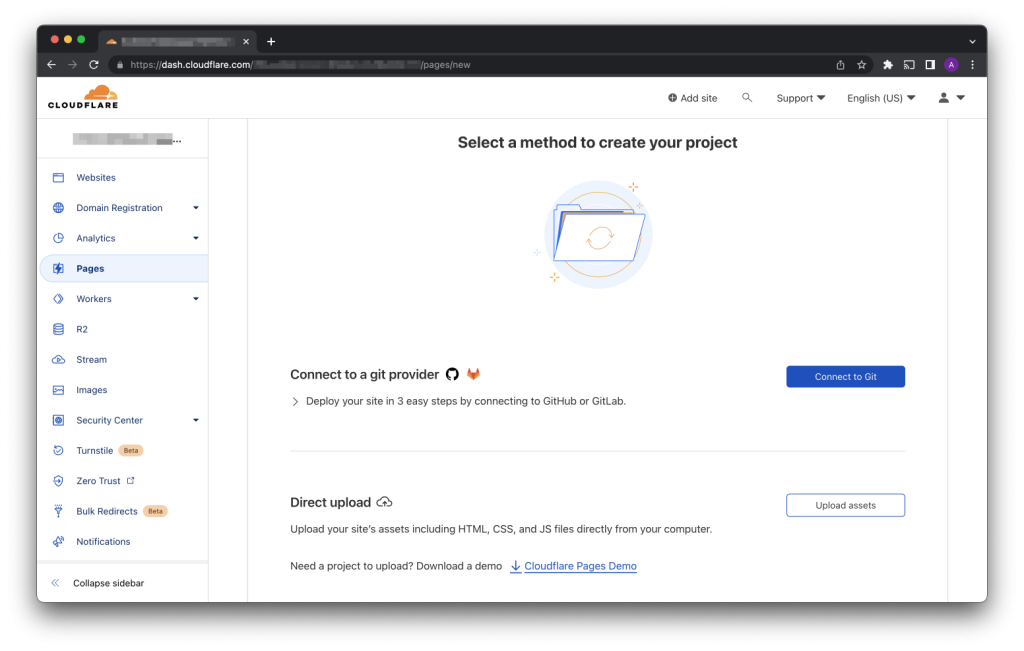
Scroll down and click “Upload assets”.
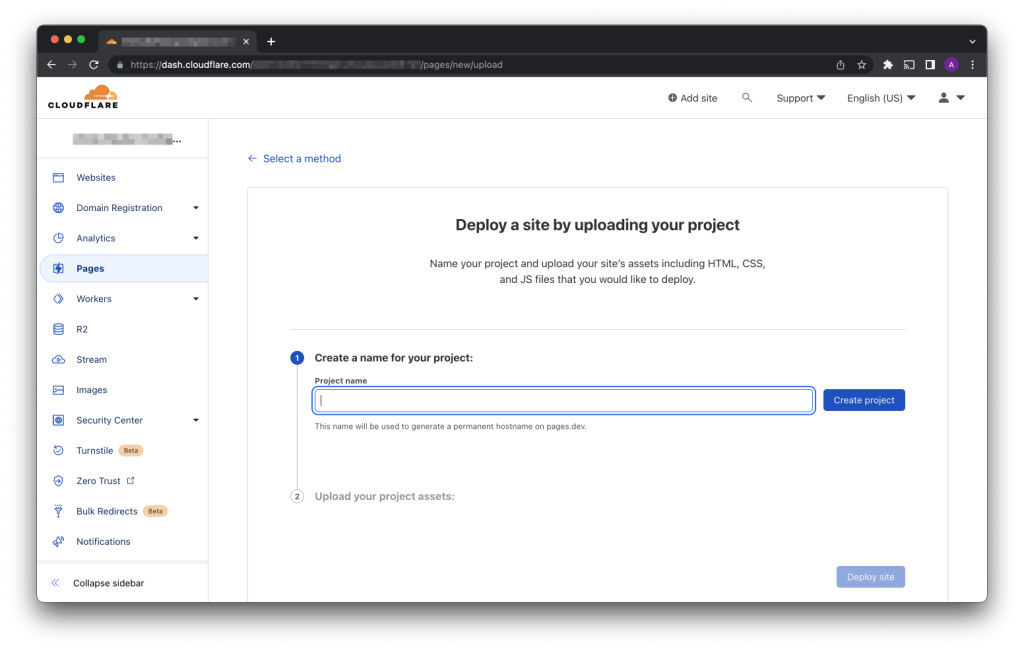
Name your project and upload the .zip from we created using Simply Static and then click “Deploy Site”.
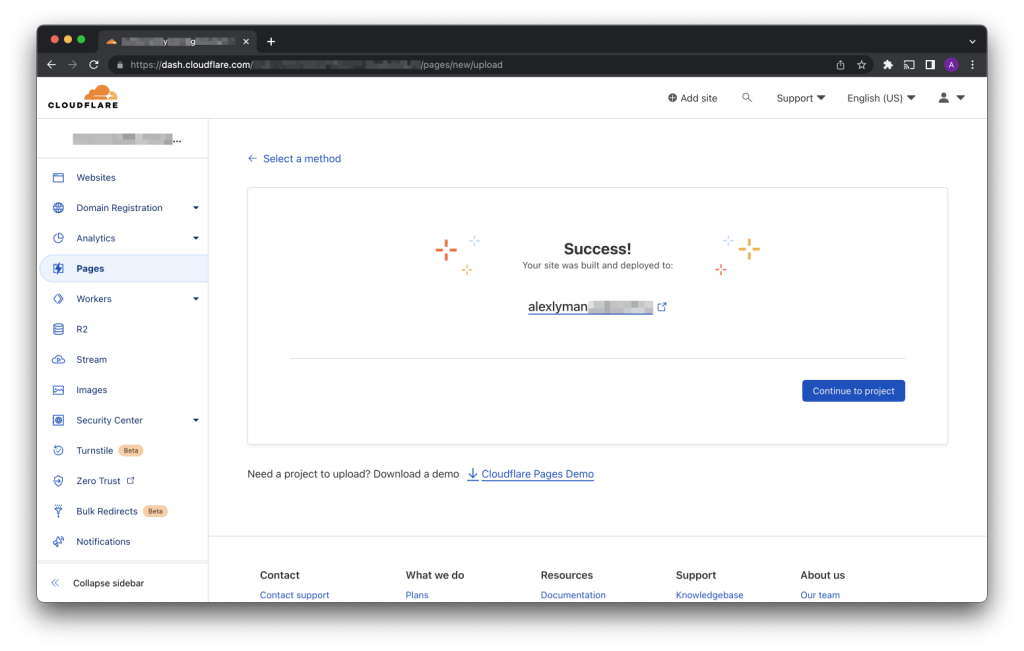
You should be met with a success screen and a temporary domain.
Now click “Continue to project”.
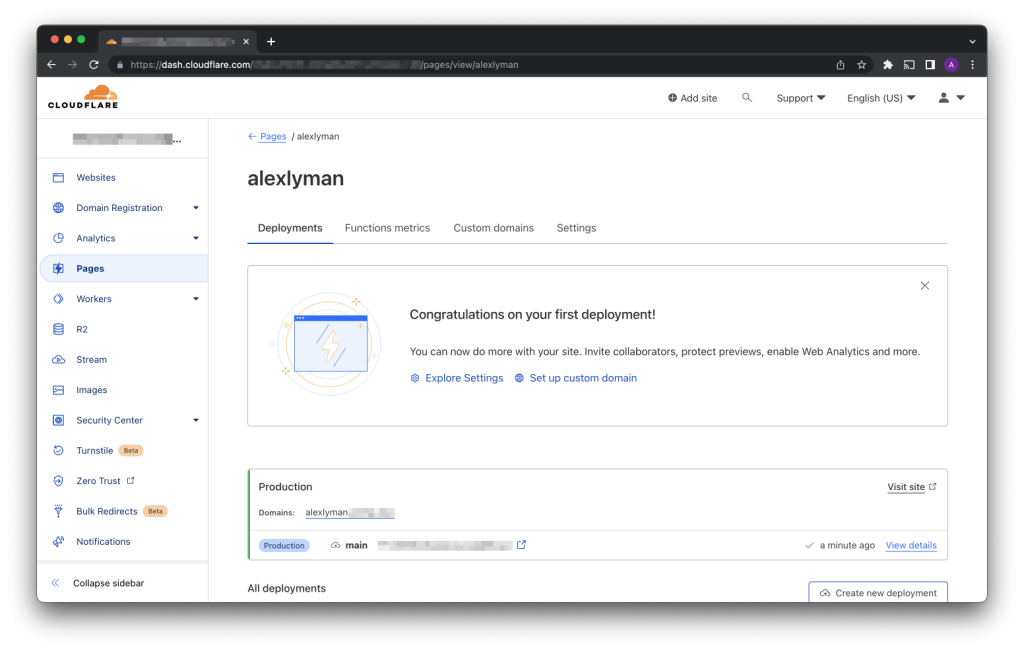
This is your new Pages project, all that’s left now is update the domain name.
Click on “Custom domains”.
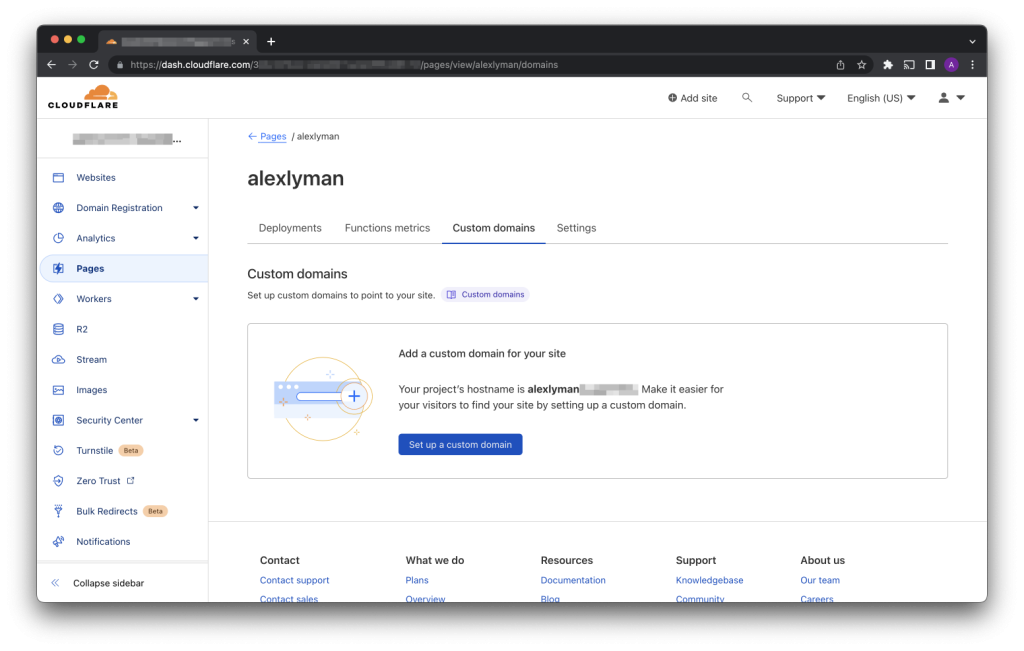
Click “Set up a custom domain”.
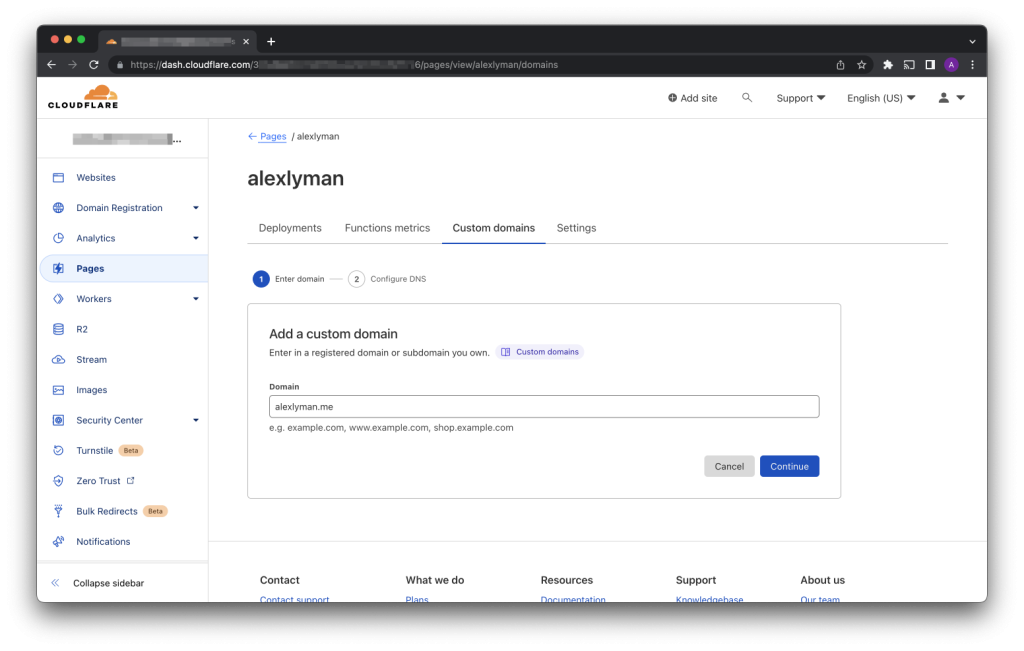
Enter your domain and click “Continue”.
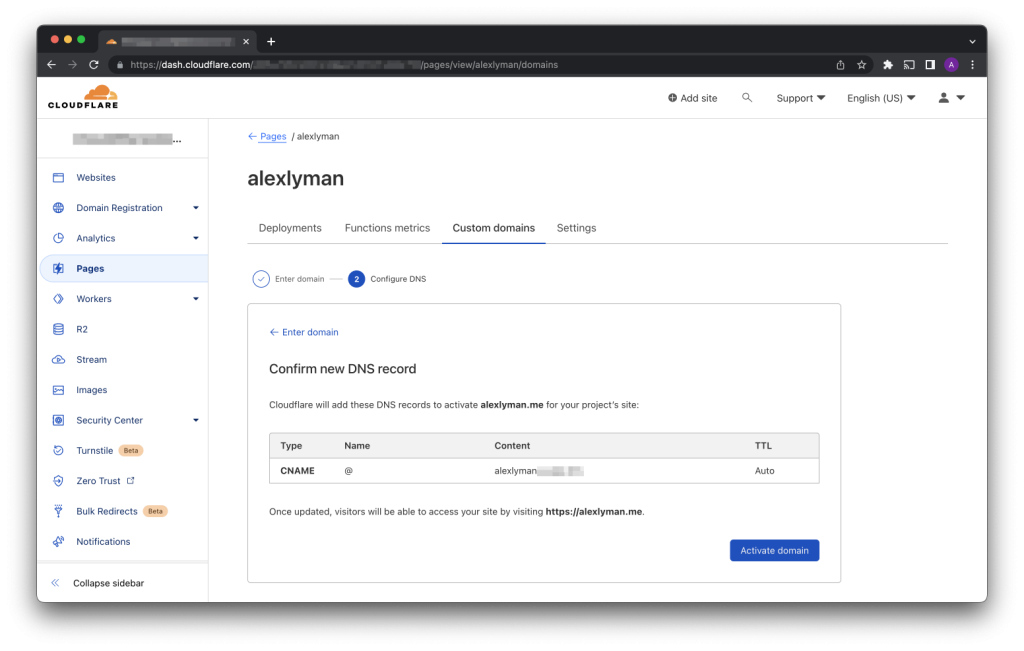
Review and click “Activate domain”.
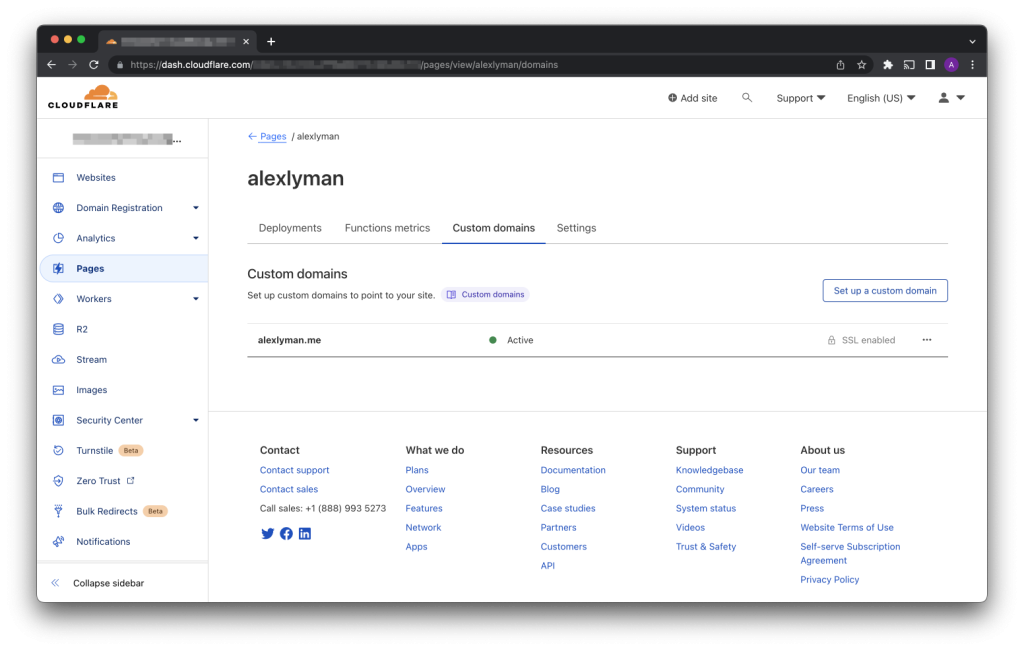
If everything went according to plan you should see this screen.
Congratulations!
But wait, when I go to my domain I don’t see my site? What gives?
Well it can take up to 48 hours for the DNs records to update so sit tight.